How to measure a rubber track: width, pitch and link count
We've already covered how to read a marking like 300x52.5x84 in our guide to picking a track by its marking. But what if the embossed size has worn away, the track is torn, and the machine came with no paperwork? Measure it yourself. All you need is a tape measure and a piece of chalk — and this guide will keep you from getting any of the three numbers wrong.
The three numbers you're after
The result of the measurement is a size in the format width x pitch x number of links, for example 230x72x43. Width and pitch are in millimetres; the links are simply counted. That's exactly the form you type into the catalogue search — and the three numbers our manager confirms before dispatch.
What you'll need
- a tape measure or a long steel ruler;
- chalk or a marker to flag your starting link;
- callipers — optional, for double-checking the pitch;
- a helper, if you're measuring the track on the machine.
The easiest option is a removed or torn track laid out flat on a level surface. But all three parameters can be taken with the track still fitted — we'll show you how below.
Step 1. Width
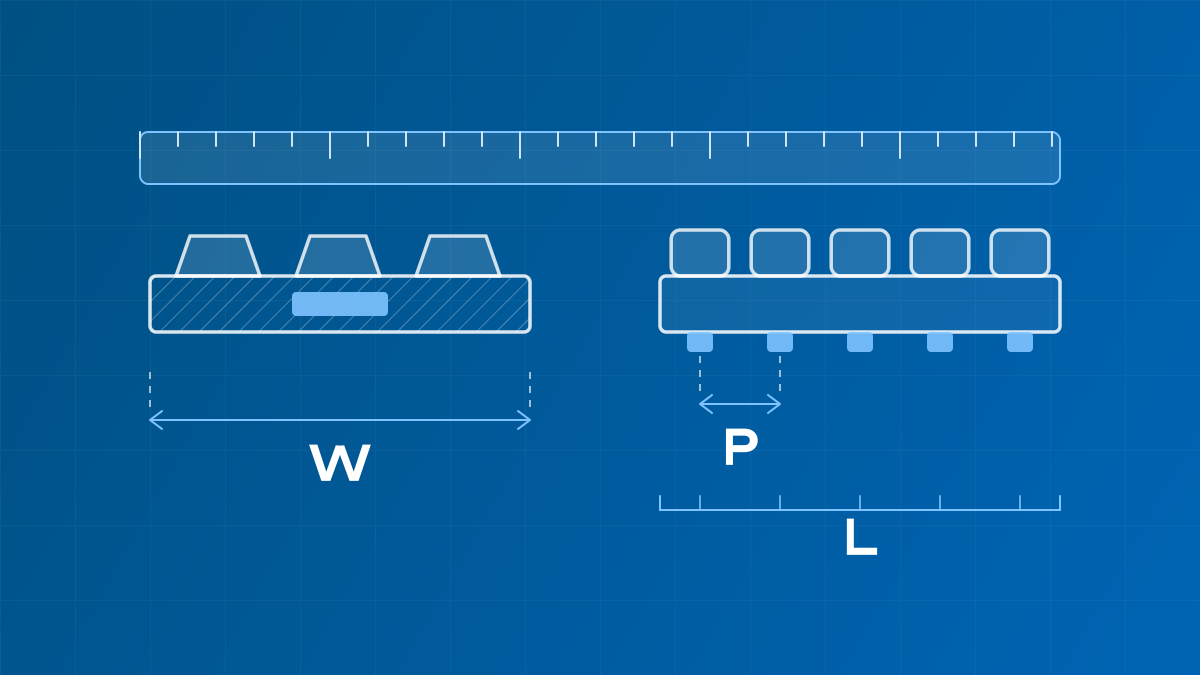
Measure the track edge to edge, across the direction of travel. Measure on the rubber base, not on the tread lugs: the tread edges wear and “round off”, so a genuine 230 mm on an old track can read as 224–226 mm. Match the result to the nearest standard value: 130, 150, 180, 190, 200, 230, 250, 280, 300, 320, 350, 400, 450 mm and up.
Step 2. Pitch
Pitch is the distance between the centres of adjacent metal inserts. It's the most critical measurement: the pitch must match the drive sprocket's engagement, and even the neighbouring standard value won't seat on it. Measure on the inside of the track:
- Locate the insert centres — they show through the rubber of the inner running surface and in the sprocket windows.
- Measure from the centre of the first insert to the centre of the eleventh — exactly 10 pitches.
- Divide the result by 10.
Dividing by 10 cuts the error tenfold: you can't eyeball the difference between a 52.5 and a 53 mm pitch over one span, but across 10 pitches it's 525 vs 530 mm. And remember: fractional pitches — 52.5 and 72.5 mm — are proper standard values, not measuring noise. Never round them to a whole number.
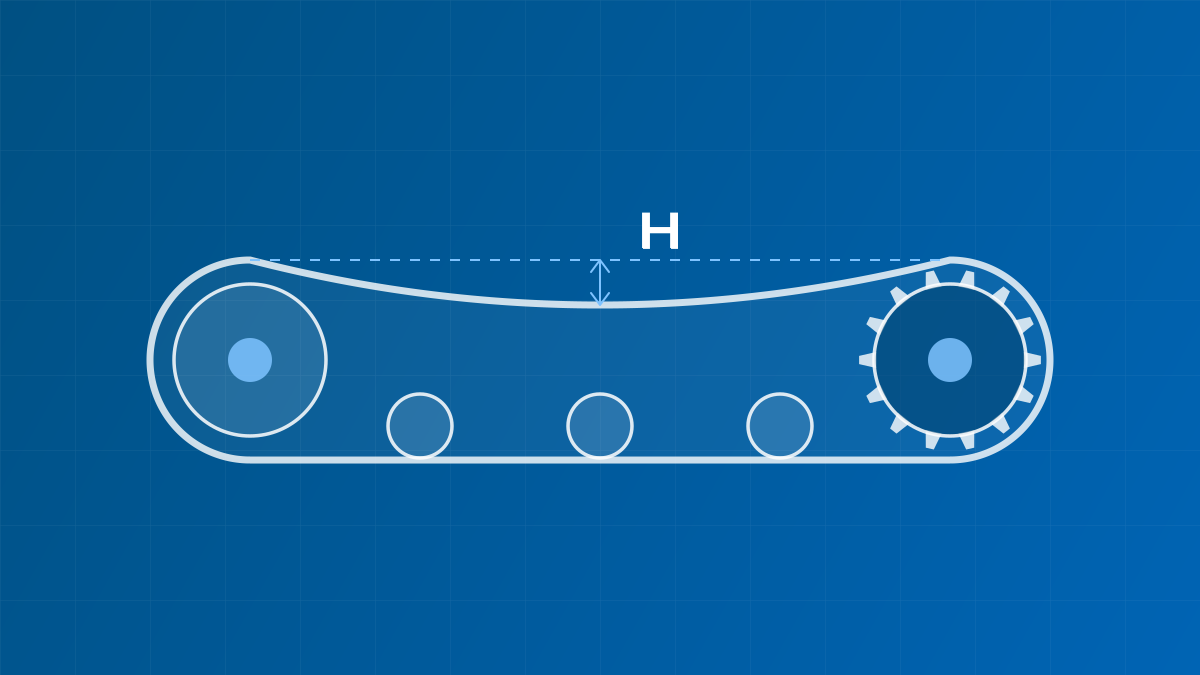
If you're measuring on the machine, pick a section where the track lies flat — the top run over the rollers. On a sagging section the distance between inserts can vary slightly and the error grows.
Step 3. Link count
Chalk-mark any insert and count them all the way around back to your mark. A link is one metal insert (one sprocket window), not one tread lug: the tread pattern doesn't have to follow the insert pitch, so counting on the outside will mislead you.
You can cross-check yourself with arithmetic: pitch multiplied by link count gives the nominal circumference along the line of the inserts. For 230x72x43 that's 72 x 43 = 3,096 mm — handy for comparing two tracks with each other. Don't try to verify this figure with a tape around the outer or inner surface: on a thick track those are different circles with different lengths.
Common mini excavator and compact machine sizes
A quick sanity check: the table lists the sizes most often found on compact machines, with the link-count ranges from our catalogue. The machine classes are approximate — the same size can be fitted to dozens of models from different manufacturers.
| Size | Link counts in our catalogue | Where it's found (approximate) |
|---|---|---|
| 180x72 | 30–45 | micro and entry-class mini excavators |
| 230x48 | 60–76 | mini excavators with a fine pitch |
| 230x72 | 34–57 | one of the most widespread mini excavator sizes |
| 230x96 | 30–43 | same classes, alternative pitch |
| 250x52.5 | 72–80 | compact excavators with a fine pitch |
| 250x72 | 34–57 | mini excavators, tracked dumpers |
| 300x52.5 | 70–98 | the widest range of versions in our catalogue |
| 300x53 | 80–84 | certain Kubota, Neuson, Furukawa models |
| 400x72.5 | 68–82 | larger mini excavators, compact loaders |
| 450x71 | 78–96 | midi excavators, mid-class machines |
If your result doesn't match any standard size, the most likely culprit is a pitch-measuring error. Re-measure the 10 spans.
Typical measuring mistakes
- Swapping width and pitch. In 230x72x43 the second number is always the insert pitch, not “another track dimension”. Width is taken across the direction of travel on the outside; pitch along the direction of travel on the inside.
- Measuring pitch on the tread lugs. On many models each link carries one and a half or two lugs, so the outer pattern gives a false “pitch”. Inside only, inserts only.
- Rounding 52.5 to 53. These are two different sizes for two different sprockets: a track with an “almost right” pitch won't seat properly in the engagement and will damage both the sprocket and the track itself. Unsure about the decimals — re-measure, don't round.
- Measuring one pitch instead of ten. A ±2–3 mm error over a single span is a real risk of ordering the neighbouring size.
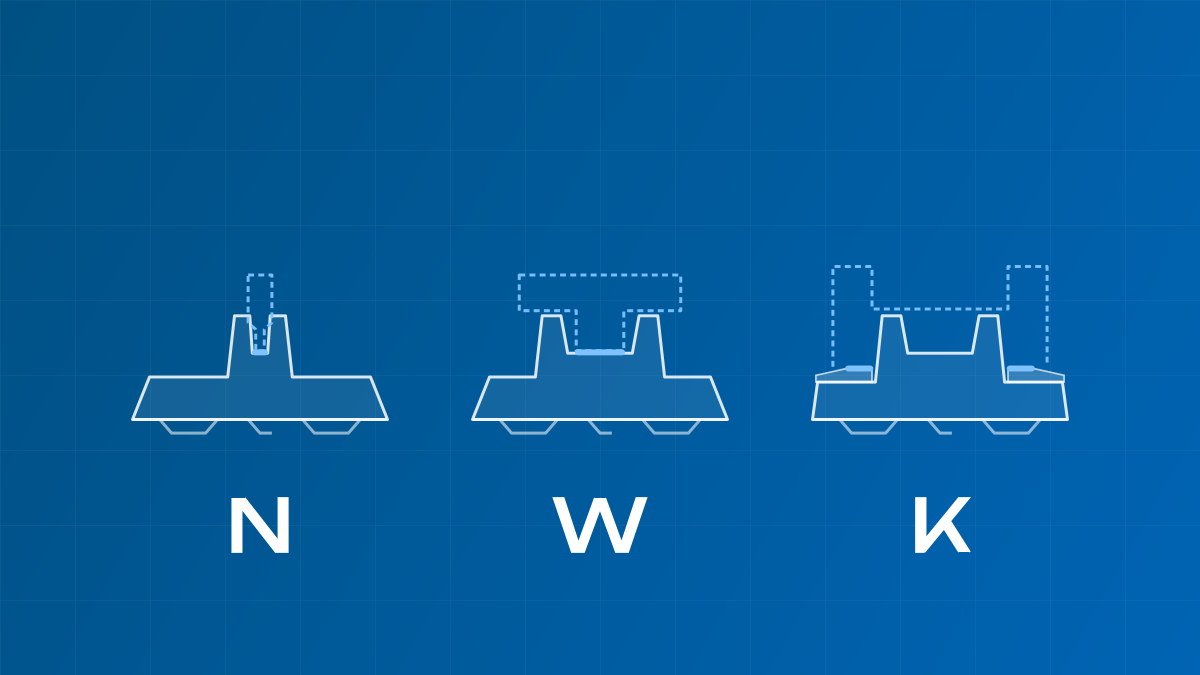
- Ignoring the letters. If a fragment of the marking with a suffix (N, W, K etc.) survives on the track — photograph it. Versions of the same size with different suffixes can differ in the design of the inserts and the engagement windows and can be incompatible; we cover this in a separate article on suffixes and tread patterns.
What to do with the result
Type the size into the site search — the catalogue will show compatible tracks with prices and stock. If you're unsure about the pitch or the result looks non-standard, send our manager a photo of the track's inner side with a tape laid across 10 pitches: the size will be double-checked before dispatch. That's faster and cheaper than returning a track that wouldn't fit the undercarriage. And if you know the make and model of the machine, work through our step-by-step selection by machine model — it cross-checks the measured size against the catalogue.